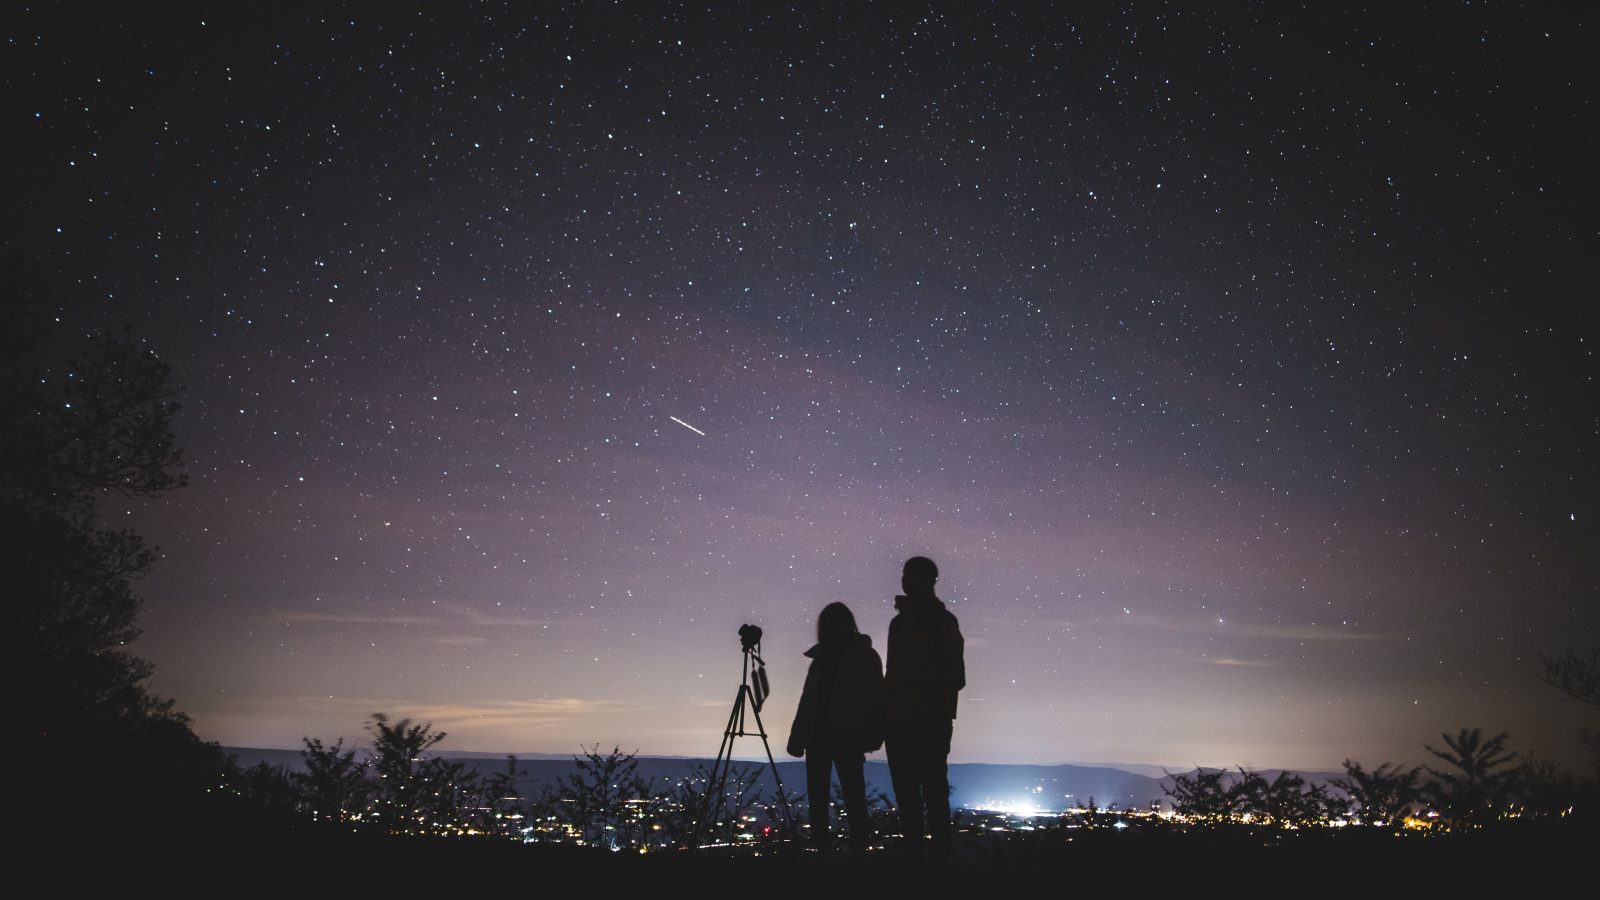
Have you ever looked up at the night sky and wished you could capture the shimmering stars or the mysterious surface of the moon? If so, you’re in for a treat! Welcome to the Ultimate Beginner’s Guide to Astrophotography with a Telescope: Capture the Stars! This guide will walk you through the exciting process of taking beautiful celestial photos, even if you’re just starting out.
Getting Started with Equipment
Before you embark on your stargazing adventure, you’ll need a telescope, obviously. But here’s the good news: it doesn’t have to be super fancy! A basic telescope and a camera (even some smartphones can work if you have the right adapter!) are enough to get started.
-
Choosing a Telescope: Go for a telescope known as a ‘reflector’ or a ‘refractor’. Reflectors are good for getting bright, clear images of distant stars and galaxies. Refractors are great for detailed views of planets and the moon. Can’t decide? A reflector is generally better for deep-sky photography, capturing objects beyond our solar system.
-
The Camera Connection: You’ll need a way to connect your camera to the telescope. This is usually done with something called a T-ring and adapter. Make sure the adapter fits your type of camera, whether it’s a DSLR or a smartphone.
-
Tripod and Mount: A steady shot is key in astrophotography. A solid tripod and a motorized mount that can follow the Earth’s rotation will help you take sharp, clear pictures.
Setting Up Your Gear
Setting up might sound tricky, but it’s just about being methodical:
-
Set up the Tripod: Make sure it’s on level ground. Attach your telescope securely.
-
Align the Telescope: Use a simple, bright object like a distant streetlight or the moon to make sure your telescope’s view aligns with your camera.
-
Focus: Start with a low-power eyepiece to get your subject into view, then switch to a higher power and adjust until the image is sharp.
Taking Your First Photos
You’re all set up, and it’s time to start capturing images!
-
Start with the Moon: It’s a forgiving first target. Experiment with different settings, especially the exposure (how long your camera gathers light), to find what looks best.
-
Move to the Stars: Try snapping pictures of bright stars or constellations. If your mount can track the sky’s movement, you can try longer exposures to capture more light and detail.
-
Try Planets: As you get more comfortable, target planets like Jupiter or Saturn. Their movement and unique features, like rings and moons, can be fascinating but require a bit more precision to capture clearly.
Editing and Enhancing Images
After taking your pictures, editing can help make them truly shine.
-
Software: Use simple photo editing software – many are available for free online. You can adjust brightness, contrast, and even bring out hidden details with a few sliders and clicks.
-
Stacking: This technique involves combining several images of the same object to create a clearer final picture. Several free astrophotography programs can help you with stacking.
Common Pitfalls and Tips
-
Avoid Light Pollution: Try to set up in a darker area, away from city lights. Light pollution can wash out faint stars and details.
-
Be Patient: Astrophotography can involve some trial and error. Don’t get discouraged if your first few shots aren’t perfect.
-
Weather and Timing: Clear, dry nights work best. Check the weather and moon phases (a full moon can be too bright for delicate deep-sky objects).
Frequently Asked Questions (FAQ)
Q1: What is the best time to do astrophotography?
A1: Nights when the moon is not full are ideal, as less moonlight means darker skies and more visible stars.
Q2: Do I need a computer for astrophotography?
A2: A computer can help with editing and stacking photos, but you can start with just a camera and telescope.
Q3: How expensive is astrophotography?
A3: It can vary. You can start with minimal equipment and slowly upgrade. Beginner telescopes and second-hand cameras can help keep costs down.
Conclusion
Embarking on the astrophotography journey with our Ultimate Beginner’s Guide to Astrophotography with a Telescope: Capture the Stars! is not just about capturing photos; it’s about experiencing the vast beauty of the universe from your own backyard. It’s a hobby that can give you not only stunning images but also a newfound appreciation for the night sky. Equip yourself with patience and curiosity, and you’ll find this hobby both rewarding and mesmerizing. Happy stargazing!